What's new with Rails UI - Issue 1

Andy Leverenz
Hey!
If you're reading this, you might have seen my introduction video, which tells the story behind the Rails UI project.
That video mentioned the new website, which is probably why you got this update in an email.
What's new?
This is my first update, so I'm excited to share what I've been up to.
Check out this blog post for a refresher on Rails UI and why I'm building it.
A quick TL;DR; of recent updates:
I have redesigned the onboarding of the gem/engine and improved how you can refer to your Rails UI install in a given Ruby on Rails application.
I completed the first theme and design system based on Bootstrap. Next up is the first Tailwind CSS theme.
My goal is to complete two themes (one Bootstrap, one Tailwind) and start opening up access for you to trial as an alpha version (If you're reading this and subscribed to the mailing list, you;ll get first dibs 🍕).
You may wonder what the heck a theme is and how it relates to Rails UI. I'll explain some more below and in upcoming issues.
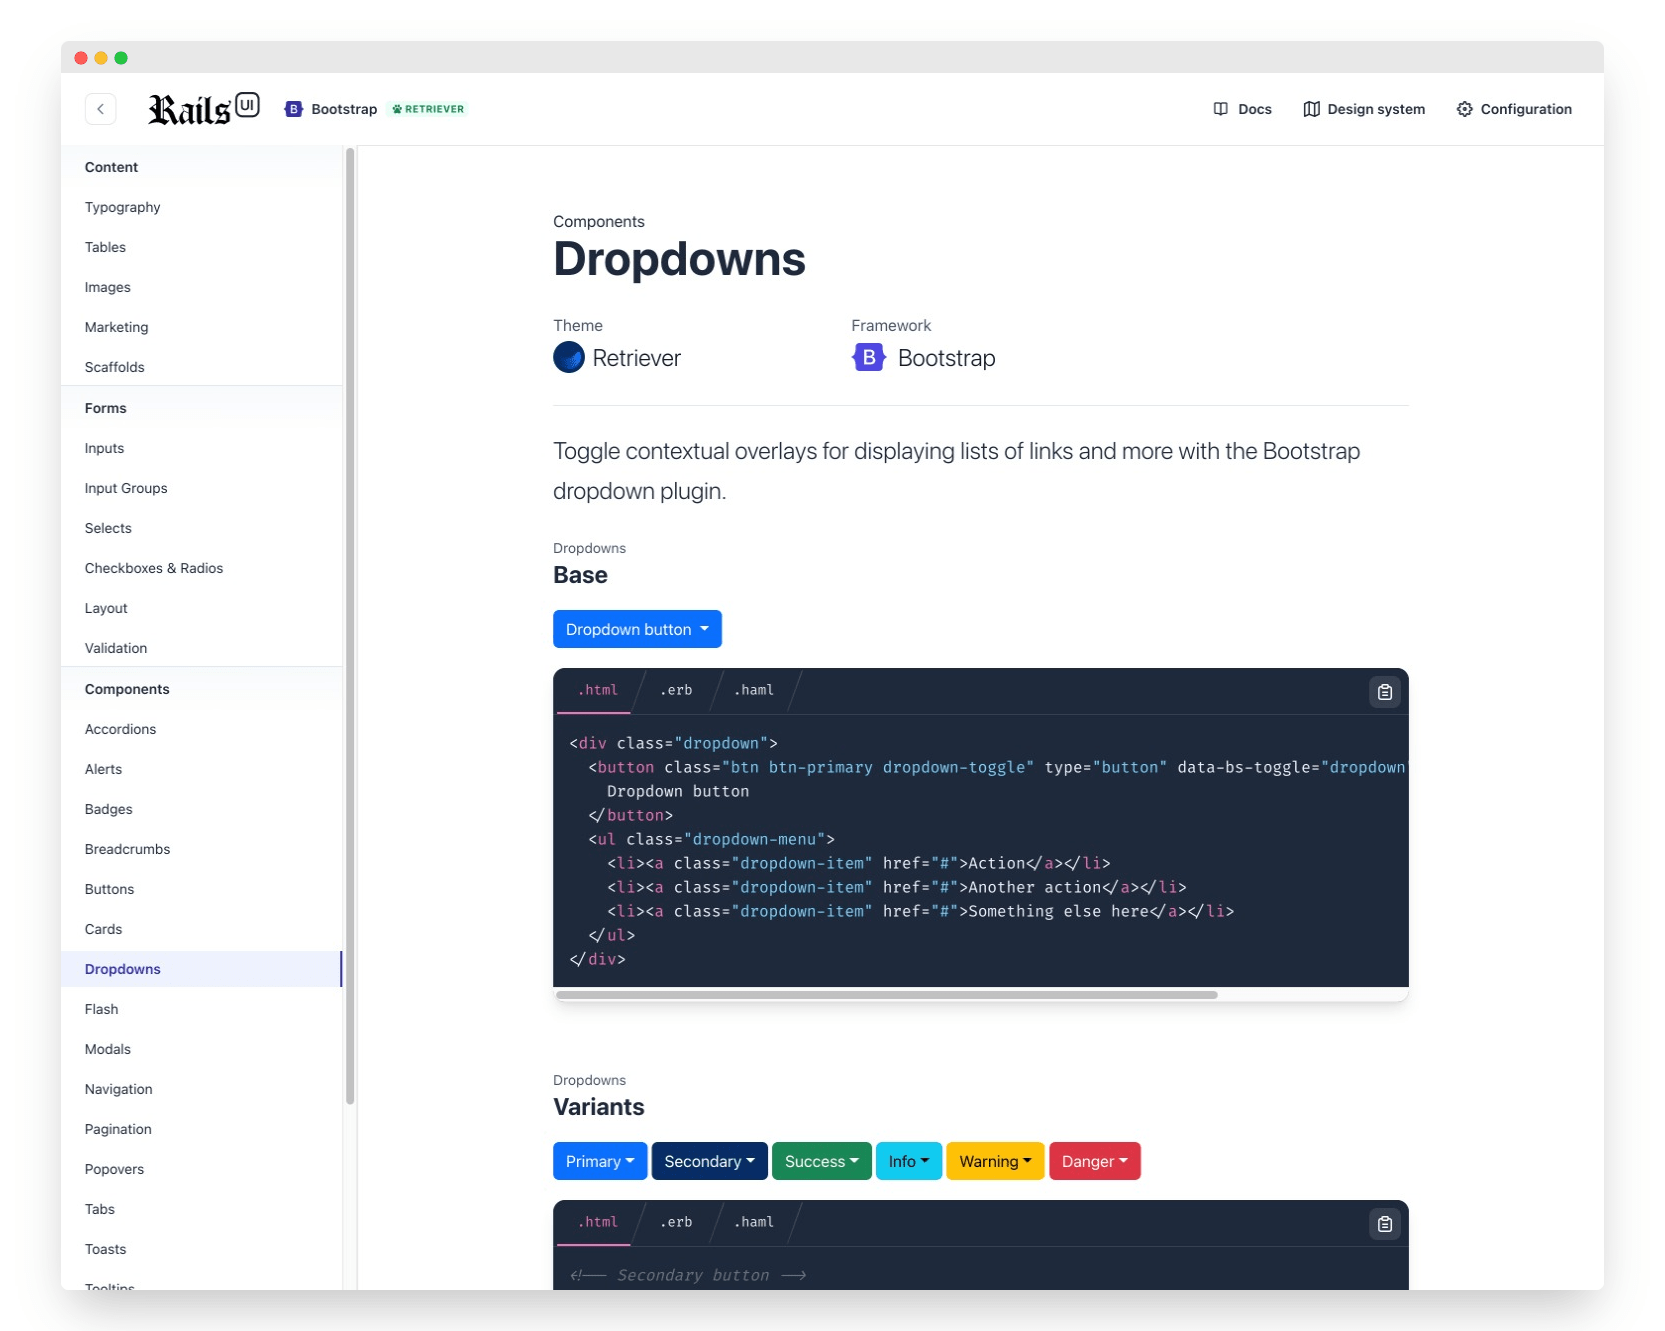
For now, here are screenshots of a fresh install of the Retriever theme, which leverages Bootstrap. This view
is called the "Design System", which features all the components and patterns Rails UI serves up for a given theme and CSS framework.
Each theme and CSS framework will offer a different set of components, styles, and content that will be expanded as time allows.
Fully integrated to Rails
The big difference with Rails UI as a design system is that it's literally integrated into a new Rails application. Brand colors, content, components, path helpers, and more are all customizable without copying and pasting some JavaScript dependant code you might have to do elsewhere.
For now, we feature HTML, ERB, and HAML code snippets. Additionally, JavaScript snippets are available for more interactive components, which typically leverage Stimulus.js since that's a Rails default as of version 7.
I have considered adding ViewComponent and Phlex support in the future but will need to dive deeply into that stratosphere before adding it to the road map.
Additionally, each section of the design system is linkable, so you can share links with co-workers who might need a hand finding a specific component or design asset. Of course, this is assumed you are working locally in a Rails development environment.
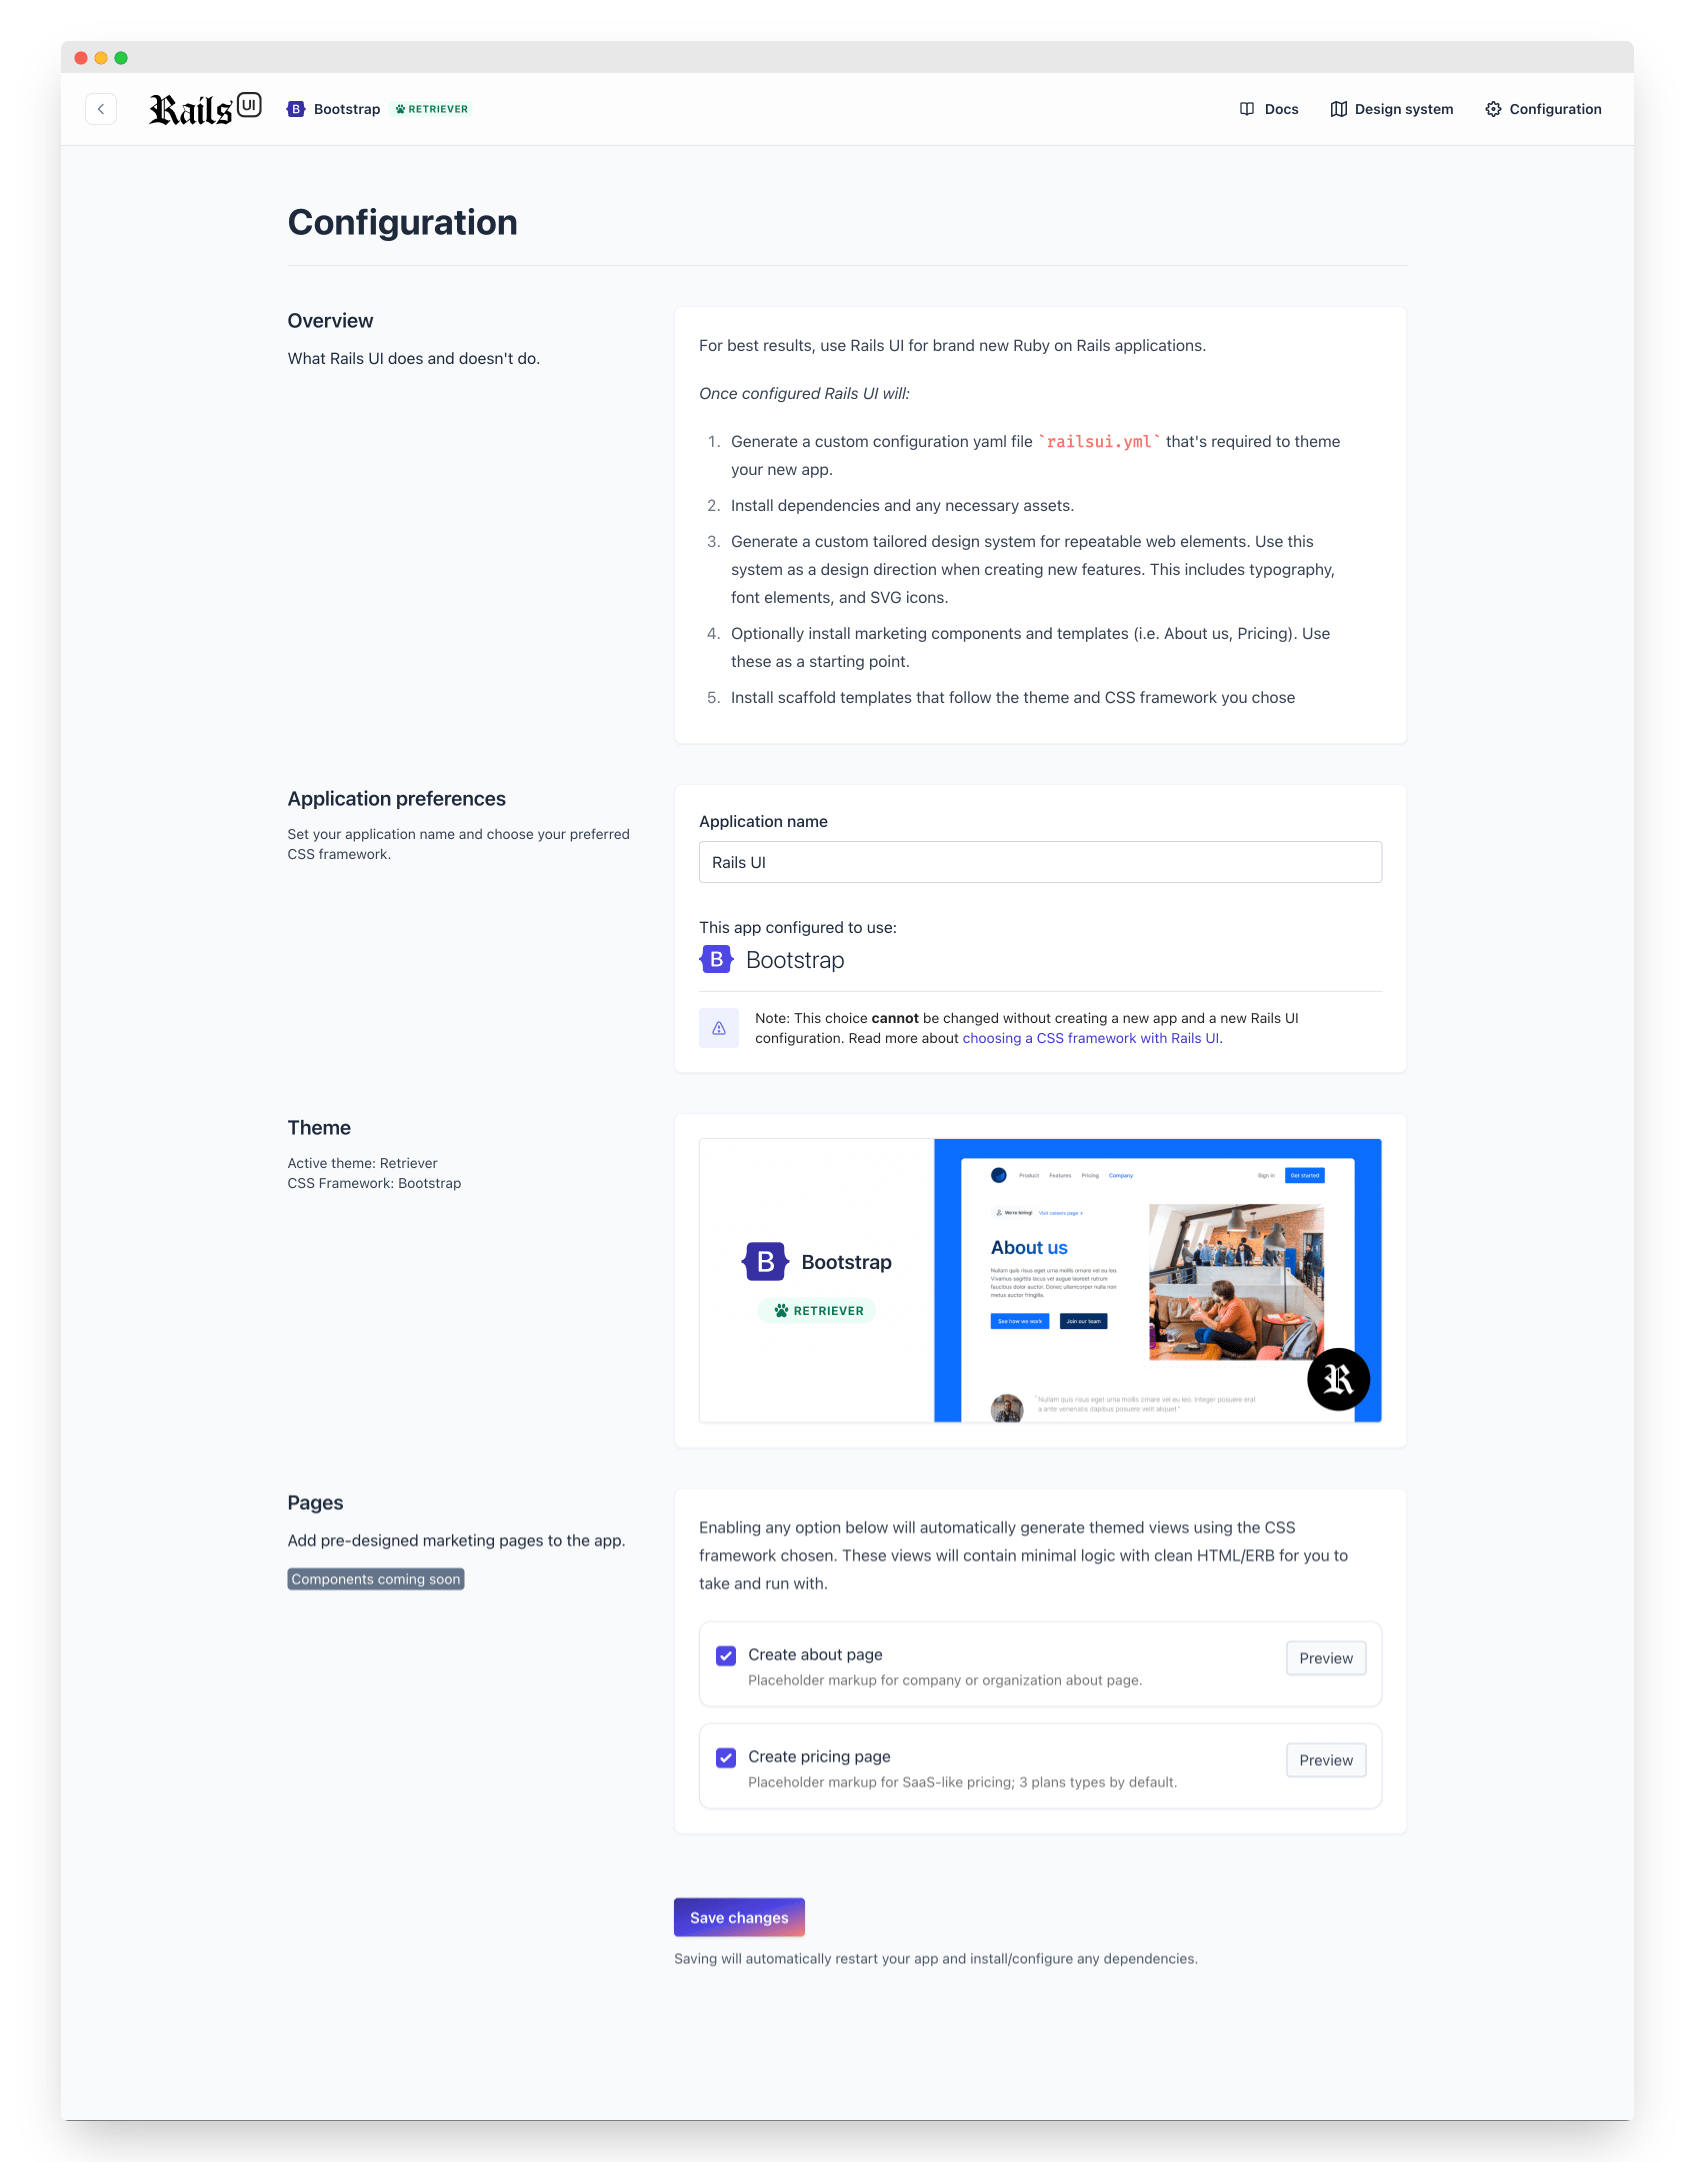
Configuration
The configuration form got a massive update. This view is the first place you will likely land after the successful installation of Rails UI.
The configuration in the screenshot features an active theme called "Retriever," so the view has fewer controls available.
An inactive theme would prompt you to choose both a CSS framework and a theme as a starting point for your design.
Themes are considered a starting point rather than a source of truth. The components combined with themes help pave your design in a direction that suits you best.
Over time the theme library will scale considerably. My goal is to make this part of the project offer as many
themes as possible to avoid too much repetition out in the wild.
Of course, all components are customizable thanks to the underlying CSS frameworks and how easy it is to incorporate those into a Rails application.
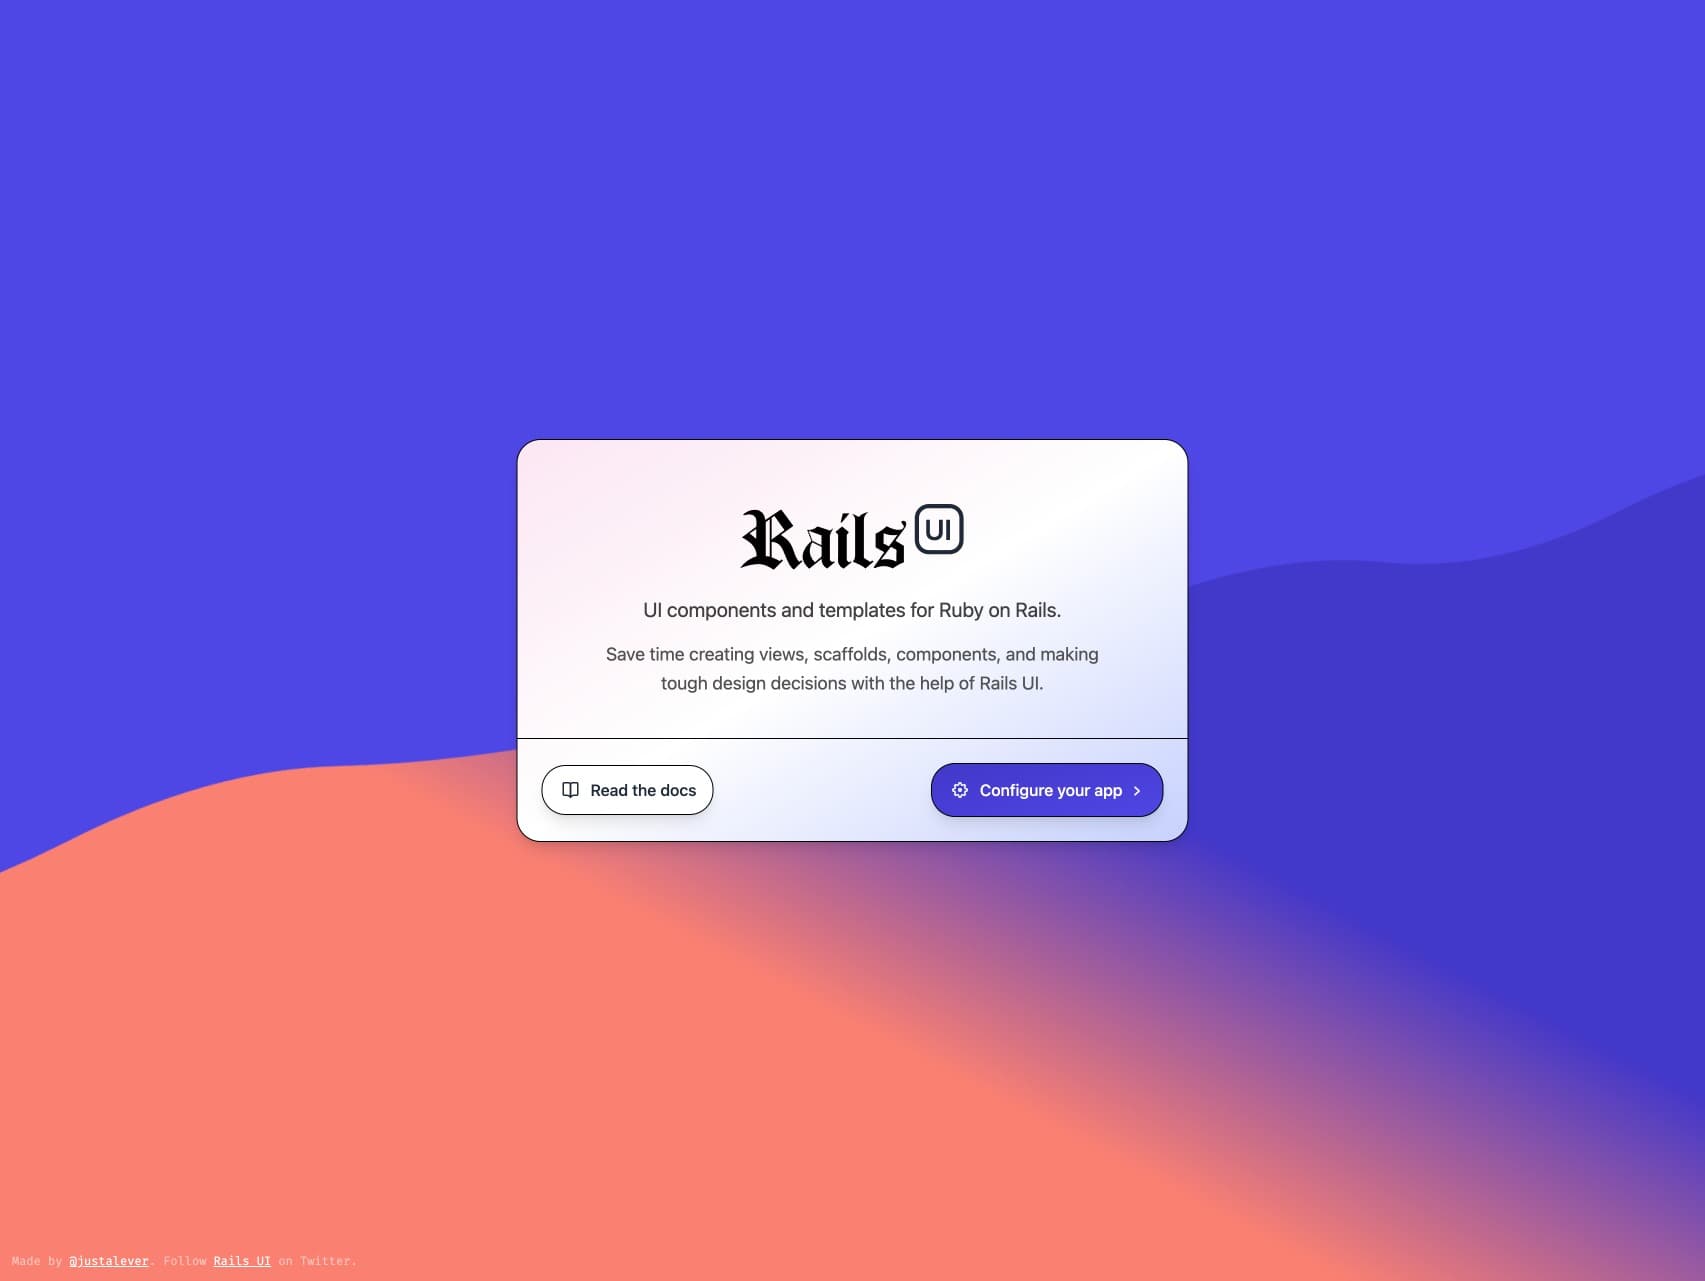
Finally, for bonus points, this is the first screen you see after installing Rails UI. I had some fun with HTML canvas.
For now, Rails UI requires all applications to be brand new. Integrating new design into old is super hard, and
while I'd love to say that's on the horizon, I wonder if it would be a huge focus at this time.
I hope you'll stay tuned for the next update. I have a lot of documentation to write, and that should help me zero in on the gray areas of Rails UI. I want to make it as effortless as possible when it comes to installation, configuration, and using it in the application. That will likely be a learning phase requiring a ton of finesse, but I'm excited to take it on 👏.
Cheers until next time,
– Andy