Tailwind CSS and modern JavaScript is required for Rails UI. The easiest install is on new Rails apps with options passed like so.
rails new my_app_name -c tailwind -j esbuild
For new apps, use the -c tailwind option to install Tailwind CSS effortlessly.
Use the -j flag to assign one of the bundling solutions from the jsbundling-rails gem (bun, esbuild rollup, webpack) for max compatibility.
Support for importmaps or propshaft via #nobuild are currently unsupported.
Existing applications
CSS
Important: Rails UI requires Tailwind CSS v4+ for optimal performance and compatibility. If your existing application is using an older version, please follow Tailwind's upgrade guide before installing Rails UI.
For an existing app you need to first install Tailwind if you haven't. If you're already using another CSS framework like Bootstrap you will need to remove that first for best results.
./bin/bundle add cssbundling-rails
./bin/rails css:install:tailwind
Note: There are several ways to approach adding Tailwind CSS support. We find the easiest way is using cssbundling-rails gem for max control. If you were to scaffold a new rails application, this gem is the one used when passing -c. Please note that Rails UI does not leverage the dedicated tailwindcss-rails ruby gem at this time.
Adding Tailwind CSS to an existing app may result in CSS class name conflicts. We've done our best to make it integrate with your existing setup but there's always a chance.
JavaScript
Rails UI works best combined with the jsbundling-rails gem.
When ready, install jsbundling-rails using the gem and the installer task. Choose the build tool you prefer.
./bin/bundle add jsbundling-rails
./bin/rails javascript:install:[bun|esbuild|rollup|webpack]
Most of the JavaScript used in Rails UI is based on Stimulus.js. This code can likely work fine alongside something like importmaps or propshaft but we have not tested this theory just yet.
2. Install the gem
Add the railsui gem to your Gemfile.
Run the bundle install command to fetch the new gem and its assets from rubygems.org.
If you're a new or existing subscriber, check your account dashboard or the private repo README for detailed instructions on how to install and gain access to the premium version of Rails UI.
3. Run the installer
The gem includes several tasks and generators. Run the install task to kick things off.
This task is responsible for setting the foundation for Rails UI, which includes assets, templates, template-specific pages, and more.
The default theme for Rails UI is Hound. It will install when you install Rails UI.
What happens during installation?
Installing Rails UI is a quick process that goes something like this:
- Install the gem
- Run the installer
rails railsui:install
- Boot your server (
./bin dev) and load the Rails UI start page. Click "Configure app."
- Set an application name, support email and choose a theme.
- Save changes
- An entire UI component suite is now at your disposal.
- Pre-designed pages come bundled with your chosen theme in a namespaced view directory.
- 🏄♀️ Go build way faster
Dependencies included by default
Gems
We keep the gem list simple because Rails UI focuses less on core application logic.
Icons
For all Rails UI applications we leverage railsui_icon. Right now there's support for heroicons with more to come soon.
We recommend sticking with one library of icons and one variant (i.e. outline) for better consistency.
Summarized installation details
ActiveStorage and ActionText
- Add ActiveStorage and ActionText support for rich text editing. With an editor that's styled and ready-to-go.
Frontend Tooling
- Use Stimulus.js for JavaScript functionality.
- Install custom scaffolds and generators based on installed template.
- Tailwind CSS for styles.
- Brandable color palette that's easily configurable.
View templates
- 25+ view templates per theme–professionally designed and ready-to-go.
- Fully-responsive
- Dark mode ready
- Customizable
- Unique authentication UI snippets per theme
Email Templates
- Custom mailer layout and helpers for easy email design and coding.
- Pre-built email templates (minimal, promotional, transactional) and Devise email support.
Boot the app
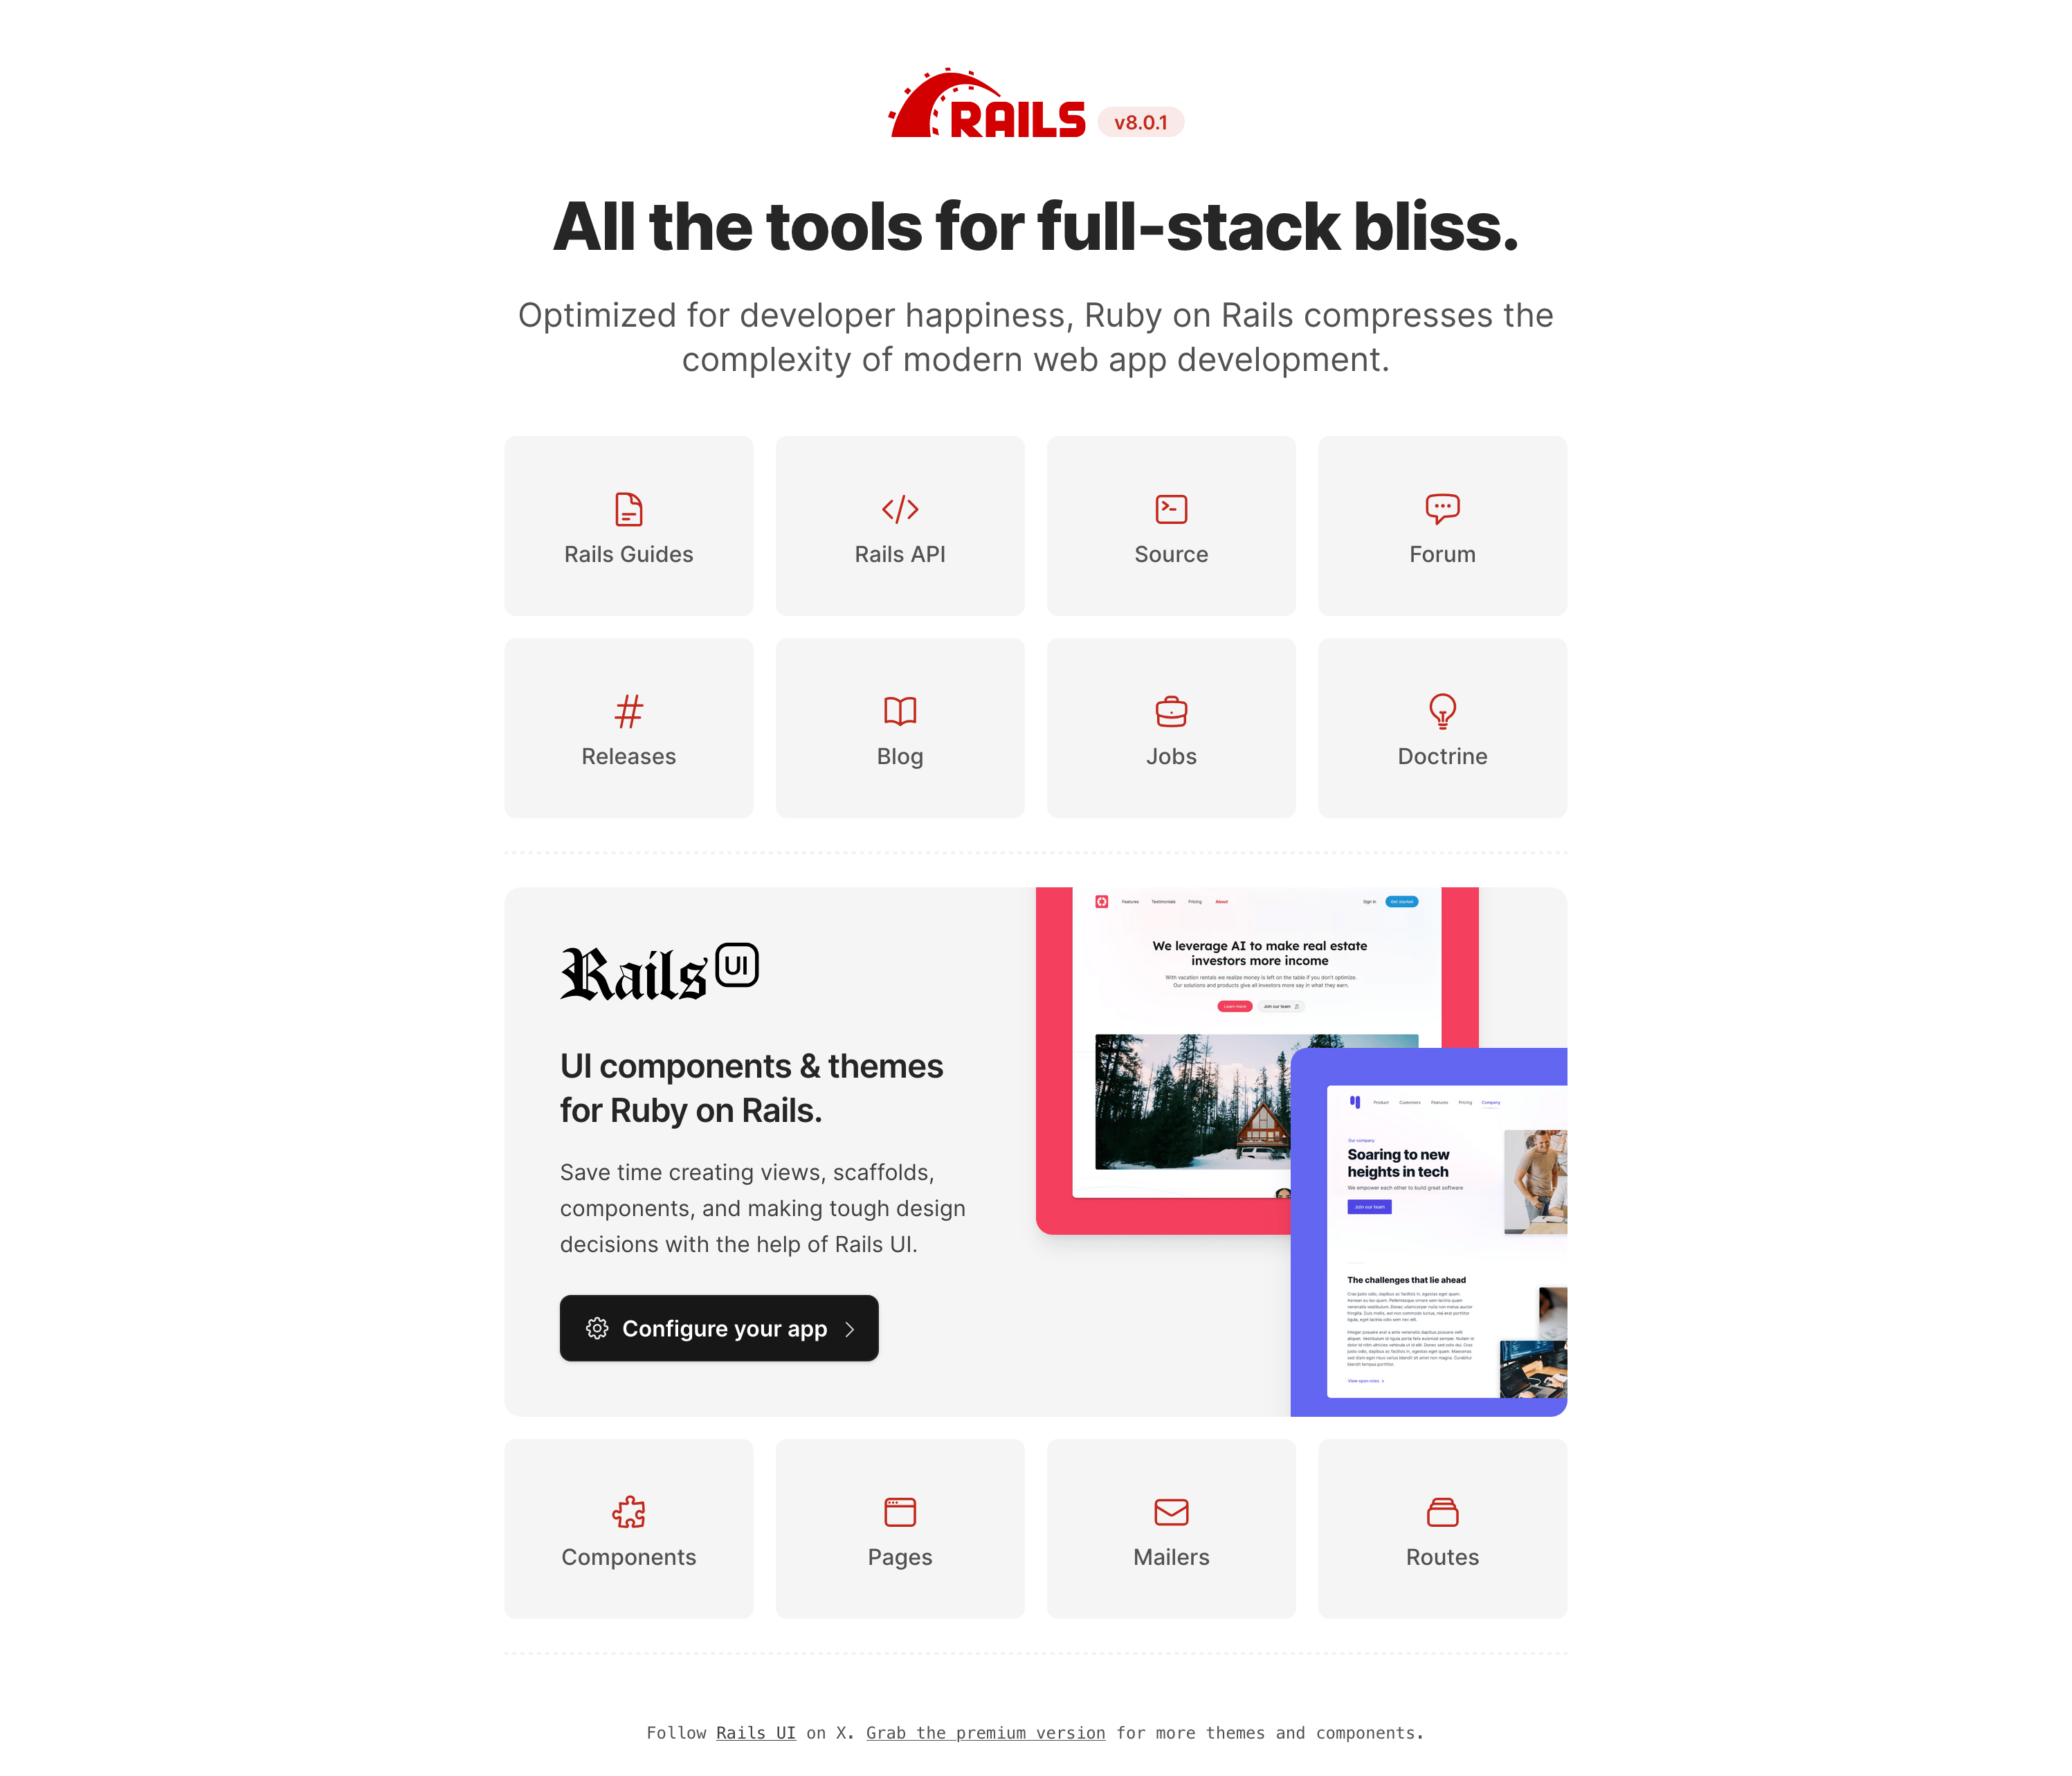
Boot the new app and visit the root path (i.e. localhost:3000). This should present a new page with some actions to areas related to Rails UI.

From there, you may proceed to configure your app.

